
I love elephants! They are by far my favourite animal. A couple of years ago, while she was visiting, my grandma bought me a card with this photo on it, and I love the card! (she didn’t even know that they were my fave!!)

I love elephants.
I hate the door to our bedroom. It has a really stupid latch on it – don’t get me wrong, I like our house, but this latch is annoying:
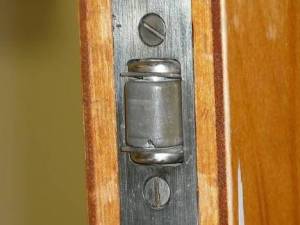
(That’s not actually our door, btw)
It doesn’t properly hold the door shut – so in the winter, when it’s cold and you want the door to be closed, it kind of rattles and sometimes even pops open – a bit scary when you’ve just been watching an episode of something murder-y… And in the summer, when you want it open, it swings and creaks and sometimes closes and opens itself. Creepy!
So the hubby suggested that, with my ‘vast’ sewing knowledge, I make a door stop. And I did. I wanted one that was pretty and that I didn’t mind constandly sitting on the floor, so I made an elephant. I used a stuffed animal pattern as a starting point, which unfortunately means that my elephant is constantly doing the splits. But that’s okay. Its cute. And it has a heart on it’s butt… just because!
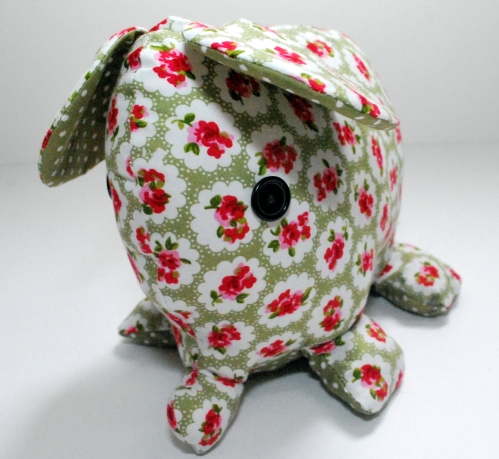


So there you go – the results of my hating the door and loving elephants!
And, I’ve learned a thing or two, so the next one would look even better!
-Jamie


 It started with some cute fabric (you’ll be seeing more of it!) and a pack of three Ikea pot stands. Nice and cheap! And look at how cute the fabric is:


 -Jamie
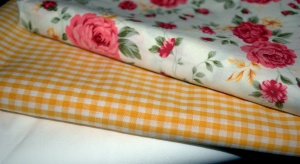


 I originally bought it when I wanted to make bunting for my niece and had NO idea how much I needed. So I bought a metre of each. When I ended up using 8 inches or so, that left me with lots of great fabric for other crafty bits. And now I’ve fallen in love with the fabric and want more!! Unfortunately, the fabric store is a ways away and I’ll have to wait until I go again. And probably until I’ve used up some of the rest of my huge stack of fabric!

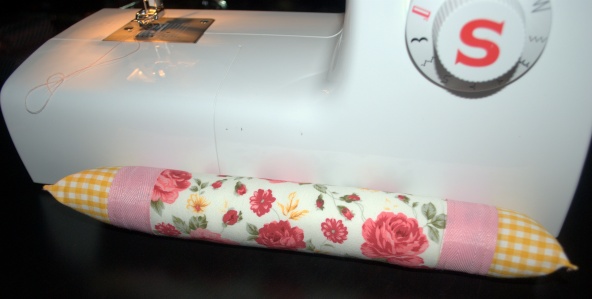
 I thought carefully about what to stuff the cushion with, but decided in the end to go with simple batting that I had lying around, because I only intend to use it as a temporary home for pins. Then I sewed the edge up and voila! A lovely little pincushion!
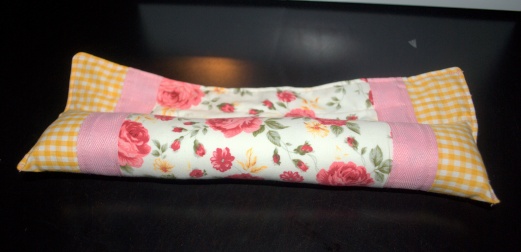
 -Jamie
 The easiest way to do the design is random swirls. I always start with the thicker gold pen, then move on to the thinner one. As you can see from the pics, my pens are looking a little worse for the wear.
 After that, I spray glued the vellum onto some black paper (not card stock – my punch could hardly handle this). The punch was so heavy to use that I had to get the hubby to help me. Unfortunately, his added strength only caused the table to crack. OOPS! Good thing it’s only a cheapy Ikea table.
 Anyway , I punched a hole in each and strung the raffia through. Easy!
 And by the way, the advent calendar is done (only a few days late) – just waiting for the hubby to put it up so I can take pics!
 I started by laying the baubles (Christmas balls for you North Americans) along the wreath, thinking about which would look good grouped and where I wanted some separate. I used the hot glue gun to attach these, making sure to leave some space between them.
 Then I laid out some of the nicer pine cones (the ones I bought weren’t great). I glued these on as well, making sure I kept the broken bits down.
 Finally, I twisted the mini lights around, securing them with a thread or two to keep them on. It was actually pretty hard to make sure the lights were facing out.
 Anyway, that’s it. A quick Christmas wreath. Now I just have to figure out how to hang it. And how to convince the husband that it’s time to put it up!
